

When I found out I was pregnant with my 2nd child, I immediately began to look for a placenta encapsulation specialist. I budgeted for it, and made it my non-negotiable gift to myself – placenta pills to help me through the 4th Trimester.
For anyone in the area, I cannot recommend Danielle from Afterglow PES enough.
However, with my last pregnancy, we didn’t have the budget for it, and so found myself searching for ways in which I could safely encapsulate my placenta myself this time. I shared what we had done on social media and had a few requests asking how … so here is what we did:
Birth the placenta on land. For encapsulation, your placenta must no be birthed in water, so after baby was born, I got out of the pool and my placenta arrived quickly after. We had a sterilised bowl for it, so popped it in there and let baby soak up all of the goodness.
If you are at home – make sure you either begin the process of encapsulation within 3 hours after birthing it OR refrigerate it until you can – this will allow it you approx 72 hours but the sooner the better.
I couldn’t do this as we transfered to the hospital so instead, we packed a box with ice and put the placenta in a bag inside the cool box. When I got home, it went straight in the fridge until Harrison cut it for me later that day.
Here’s a step by step process of what we did:
After admiring your placenta and possibly taking pictures if you want to, begin the process.
- Step 1 – with a sterile area, cut the placenta into thin slices OR small pieces.
- Step 2 – place the pieces into a food dehydrator and turn it on. It will need to be on high for hours, possibly overnight.
- Step 3 – check the placenta pieces are hard — they should snap when you try and bend them. If they are flexible still, they aren’t ready.
- Step 4 – when they are ready, powderise them. I used a blending machine for this bit.
- Step 5 – pour the powder into your capsules. This is time consuming – made a little eaiser by a capsule machine… but I struggled to make sure the capsules close effectively etc.
- Step 6 – enjoy the benefits 🥰
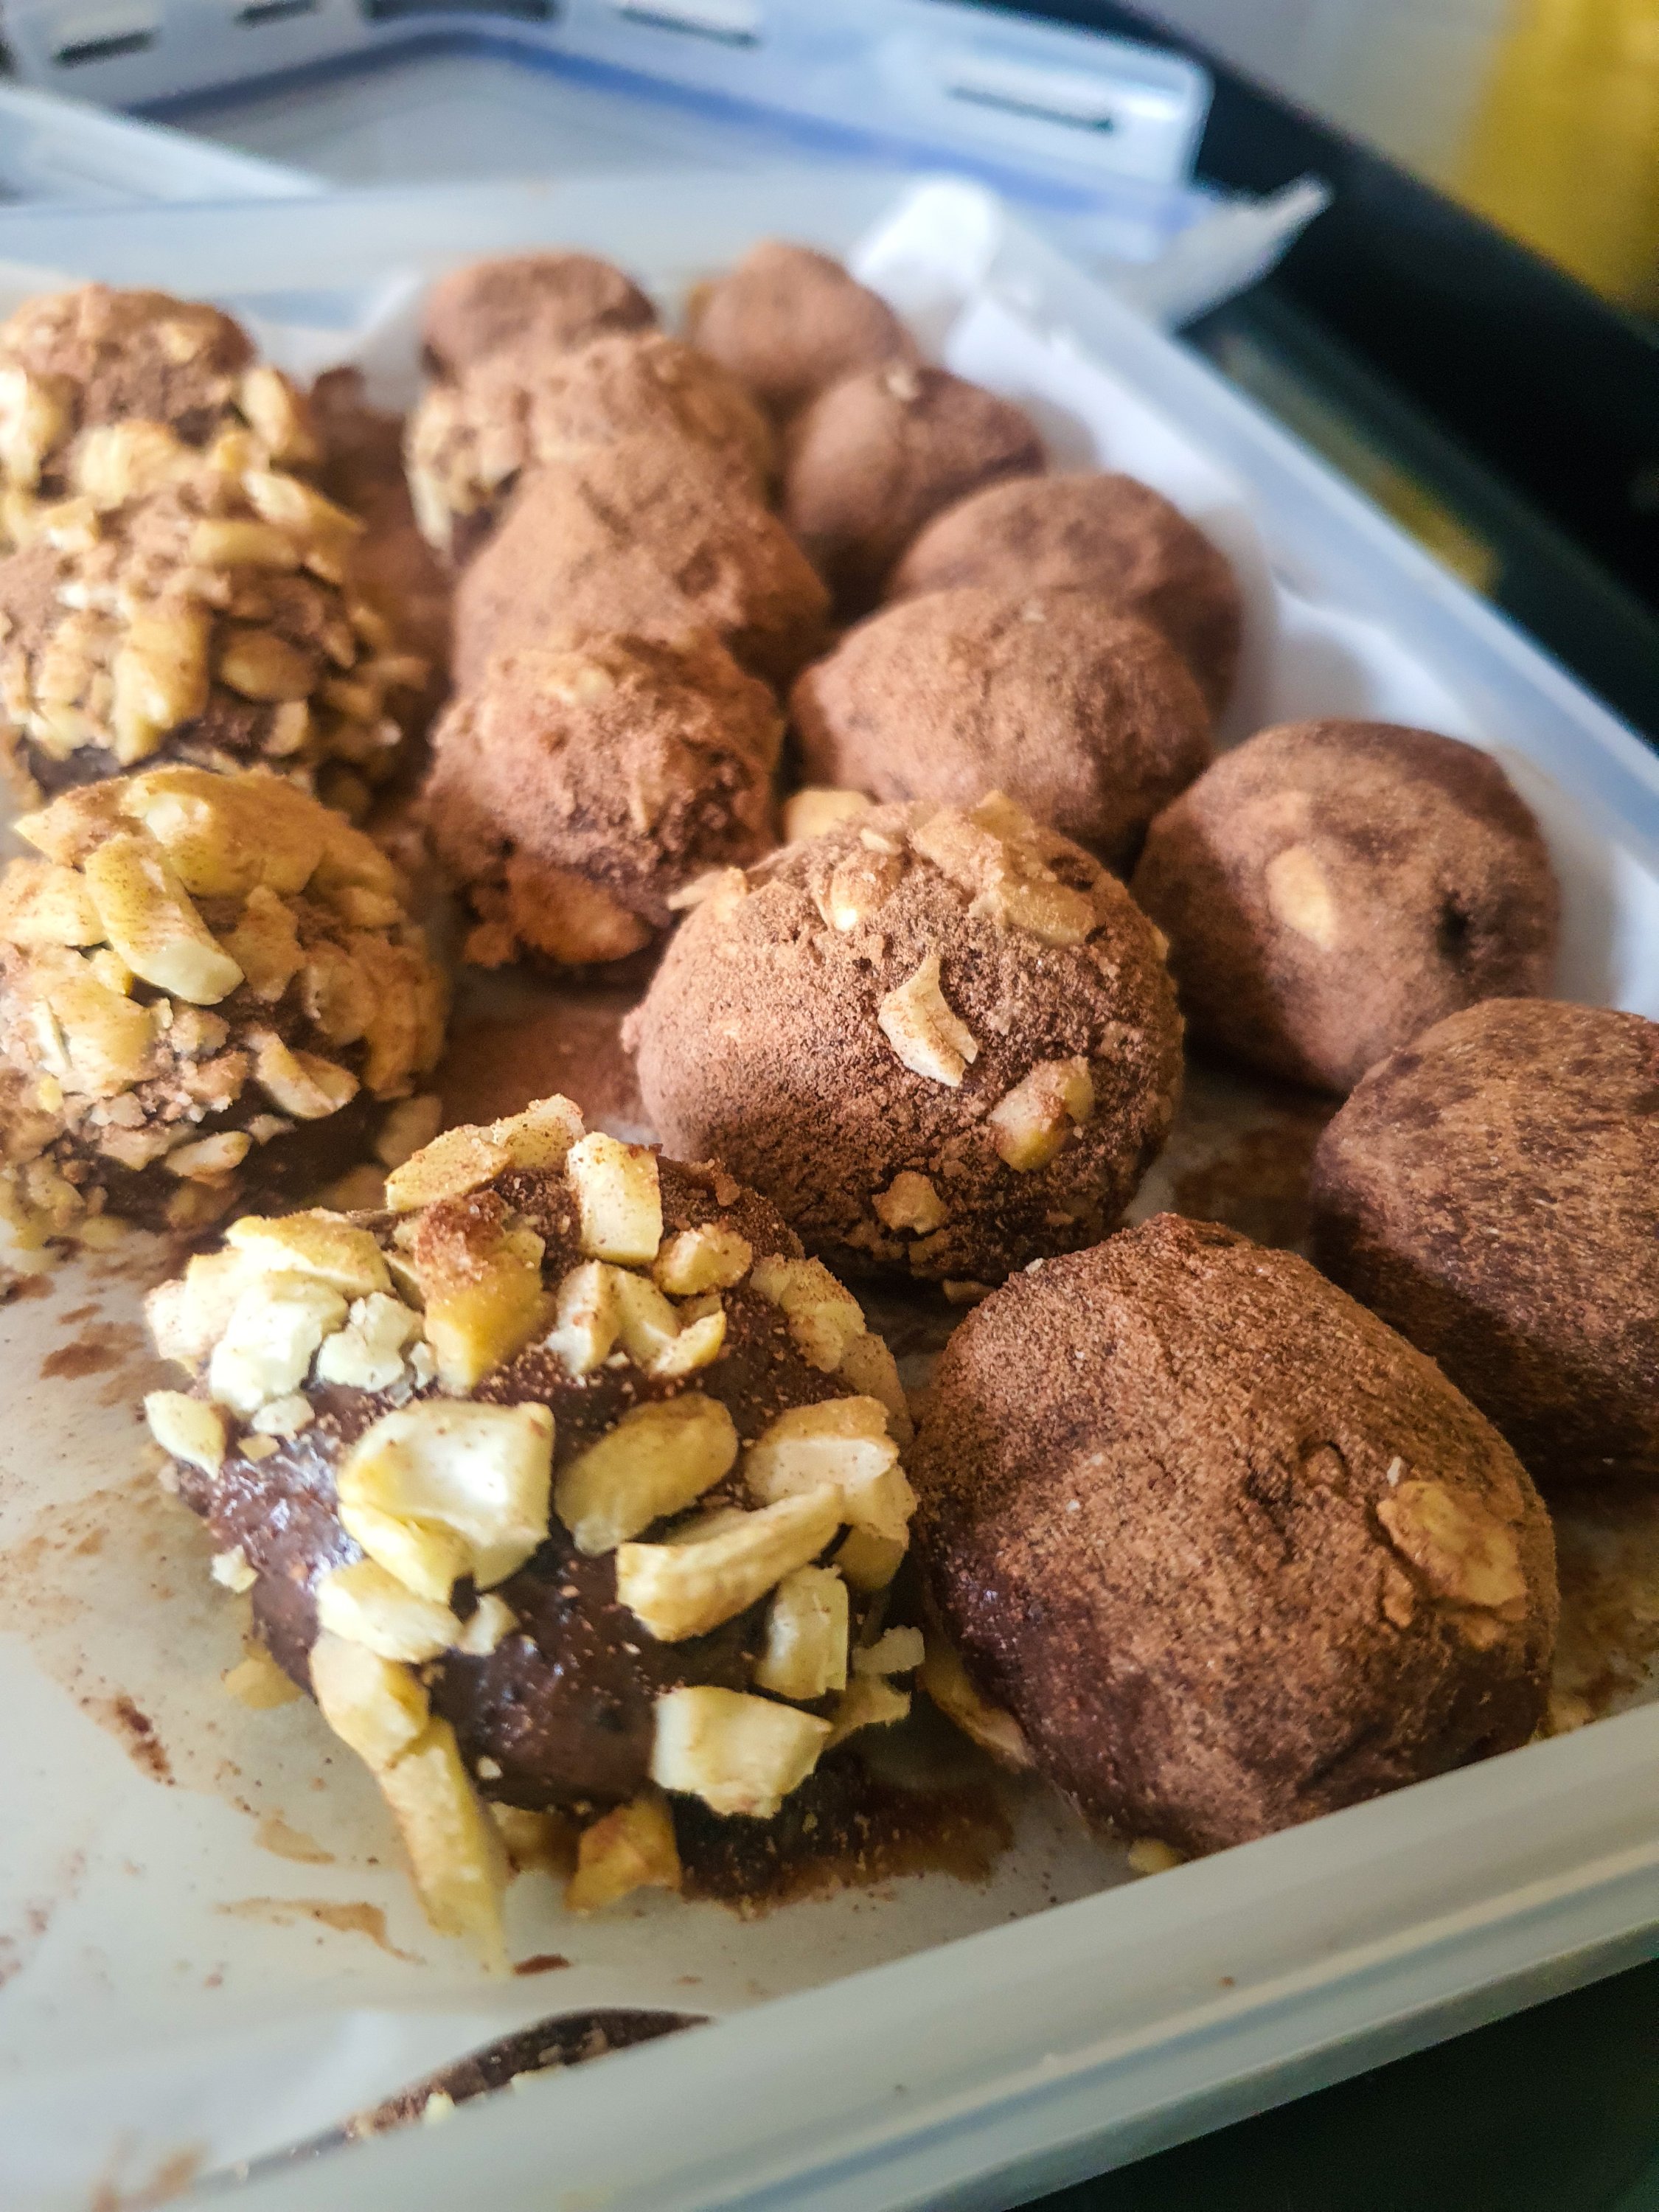
I take 1 a day and made 100. There was about half the powdered placenta left over, so I made placenta truffles with this recipe and have frozen them for when I want them in a few weeks time.
Below are some images of the process – I assume if you’re reading this, you expect to see a placenta (image 2), but if you don’t want to, now you know to scroll past 😊.


Placenta encapsulation is definitely not something I ever thought I’d be doing myself. However, I am grateful we had the opportunity to do it, and I would 100% recommend trying to if you can’t find an encapsulation specialist and you want them done.
It wasn’t as hard as I thought I would be, and though Harrison did the messy bit by actually cutting it, overall I think it was a fairly simple process. The benefits of hormone regulation, increased milk and a faster physical & mental recovery from our birth story has been well worth the time taken.
Overall, I’d report a success 💕
Have you encapsulated your placenta? Did you do it yourself?
Xoxo R
